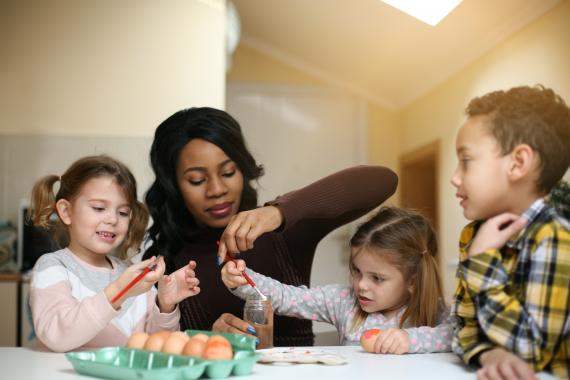
Hello, creative decorators and Easter enthusiasts! It’s that time of year when we get to embrace our artistic side and dye Easter eggs. Whether you’re a seasoned pro or new to the craft, let’s explore the steps for dyeing Easter eggs to create vibrant and beautiful decorations for your upcoming Easter events.
Step 1: Gather Your Supplies
Before you begin your egg-dyeing adventure, gather the following supplies:
- Hard-boiled eggs: These are your blank canvas.
- Egg dye or food colouring: Choose a variety of colours for a festive palette.
- Cups or bowls: You’ll need containers for mixing and dipping the eggs.
- Vinegar: To help the dye adhere to the eggs.
- Spoons or tongs: For safely handling the eggs.
- Paper towels or a drying rack: To let the eggs dry after dyeing.
- Stickers, wax crayons, or stencils (optional): These can add fun patterns and designs to your eggs.
Step 2: Prepare the Dye
Follow the instructions on the egg dye or food colouring packaging to create your dye solution. Typically, you’ll mix the dye with water and add a splash of vinegar to help the colours pop. Feel free to mix colours to create unique shades!
Step 3: Decorate the Eggs
Now, the creative fun begins. There are several ways to decorate your Easter eggs:
Dipping: Submerge an egg into the dye bath, leaving it in for a few minutes or until you achieve the desired colour.
Speckling: Use a small brush or toothbrush to flick small specks of dye onto the eggs for a speckled effect.
Stripes and Patterns: Apply stickers, wax crayons, or use stencils to create patterns. The areas covered won’t absorb the dye, resulting in a pattern when removed.
Ombre Effect: Dip your egg halfway into the dye, and then dip it deeper for a beautiful ombre effect.
Step 4: Allow the Eggs to Dry
After decorating the eggs, place them on a drying rack or paper towels to dry. This will prevent colours from smudging or running, and it’s essential for achieving a polished look.
Step 5: Showcase Your Creations
Once your Easter eggs are dry, it’s time to showcase your creative masterpieces. Here are a few ideas for displaying your dyed eggs:
Egg Carton: Paint or decorate an empty egg carton to hold your eggs.
Egg Cups: Use egg cups to display individual eggs.
Egg Tree: Hang your eggs from branches or a small tree for a festive display.
Centrepiece: Arrange the eggs in a decorative bowl or basket for a lovely centrepiece.
Easter Egg Hunt: Hide the eggs around your garden or home for an Easter egg hunt.
Tips for Perfectly Dyed Eggs

To ensure your dyed eggs turn out beautifully, consider these tips:
Start with Room-Temperature Eggs: Cold eggs can cause the dye to contract and not adhere evenly. Let your hard-boiled eggs come to room temperature before dyeing.
Use White Eggs: White eggs provide a blank canvas for vibrant colours. However, brown eggs can also result in unique and earthy shades.
Experiment with Patterns: Get creative with stickers, wax crayons, and stencils to create unique patterns and designs.
Be Patient: Allow eggs to dry thoroughly before handling them to avoid smudging.
Use a Whisk: For a different look, you can whisk the eggs through the dye for a marbled effect.
Try Natural Dyes: Experiment with natural dyes like beets, blueberries, or turmeric for a more organic and eco-friendly approach.
Safety First: If you plan to eat the dyed eggs, make sure to use food-grade dyes.
Conclusion
Dyeing Easter eggs is a delightful and creative tradition that adds charm to your Easter celebrations. With a bit of preparation and a splash of colour, you can transform simple hard-boiled eggs into eye-catching decorations for your events. So, gather your supplies, let your imagination run wild, and enjoy the process of making beautifully dyed Easter eggs. Whether they’re displayed on an Easter egg tree or hidden for a fun Easter egg hunt, your dyed eggs will undoubtedly bring joy to your festivities. Happy decorating! 🥚🎨🐣

